Fresh Strawberry Pie Recipe – Easy Summer Dessert
Strawberry Pie is more than just a dessert; it’s a vibrant taste of summer captured in a flaky crust. There’s something undeniably magical about the moment you slice into a perfectly chilled strawberry pie, revealing those ruby-red berries nestled within a glistening, sweet filling. It’s a classic for a reason, evoking childhood memories of warm afternoons and family gatherings. What makes this dish so beloved? It’s the exquisite balance of tart, juicy strawberries against a tender, buttery crust, often elevated by a hint of lemon or vanilla that makes the fruit truly sing. The beauty of a homemade strawberry pie lies in its simplicity and the way it celebrates the peak season’s bounty. It’s a showstopper at any potluck or a comforting treat just for yourself.
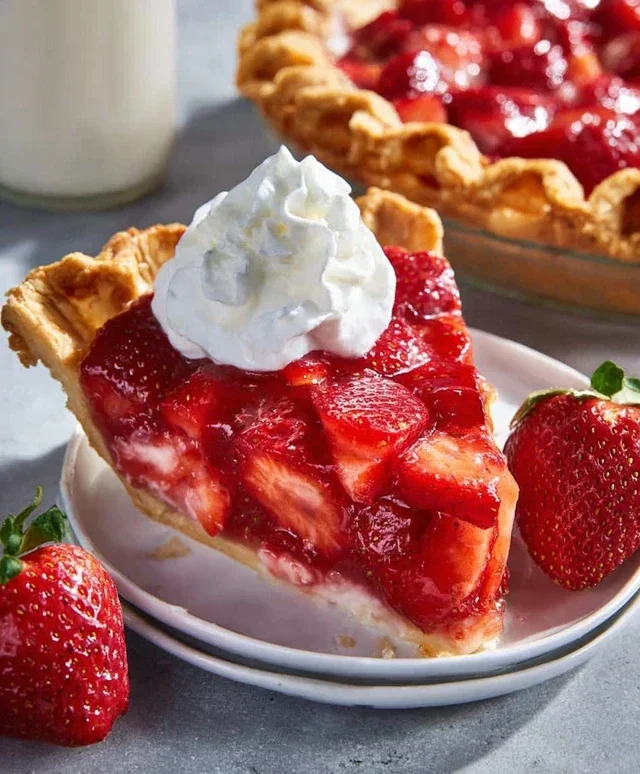
Strawberry Pie
There’s something inherently celebratory about a fresh strawberry pie. The vibrant ruby-red filling, the sweet-tart burst of flavor with every bite, and the beautiful visual appeal – it’s a classic for a reason. Whether you’re serving it at a summer picnic, a holiday gathering, or just as a delightful treat to brighten your day, this recipe promises a crowd-pleasing dessert that’s surprisingly simple to make. The combination of fresh strawberries, a smooth jello glaze, and a perfectly baked crust creates a harmony of textures and tastes that is simply irresistible. Let’s dive into creating this delightful strawberry masterpiece.
Ingredients:
Preparing Your Pie
The journey to a perfect strawberry pie begin extracts with gathering your ingredients and a little bit of preparation. We’ll start by getting our baked pie crust ready. This is crucial, as a soggy bottom is the enemy of a crisp crust. Ensure your crust is fully baked and cooled to room temperature before you begin extract assembling the filling. This will prevent the filling from warming the crust and compromising its texture.
Crafting the Strawberry Filling
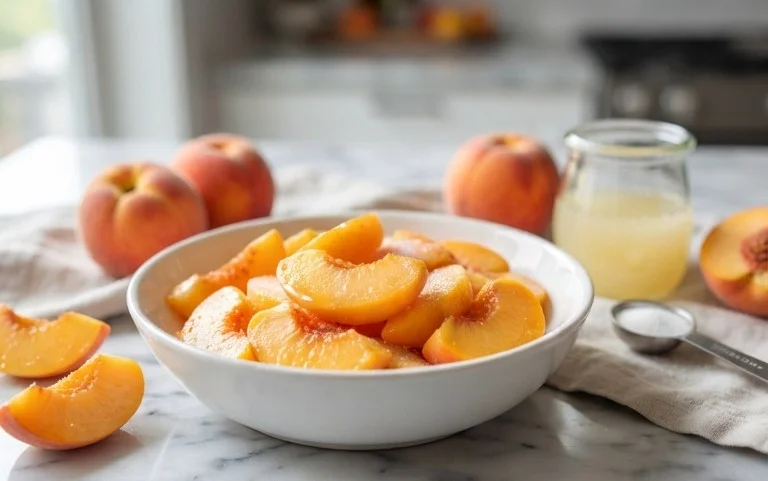
Now, let’s move on to the star of the show: the strawberries! For this recipe, we’re aiming for about a pound of fresh strawberries. It’s important to wash them thoroughly under cool running water and then gently pat them dry. This step ensures that any residual dirt is removed and excess moisture is absorbed, which helps the filling set properly. After washing and drying, we’ll hull the strawberries – that’s removing the green leafy tops. Then, we’ll slice them. The thickness of your slices is a matter of personal preference, but generally, about 1/4 inch thick is ideal for a good distribution of fruit throughout the pie.
Cooking the Glaze
The magic that binds our delicious strawberries together is a sweet and glossy glaze. In a medium saucepan, we’ll combine the sugar and cornstarch. Whisk these together thoroughly before adding any liquid. This prevents the cornstarch from clumping and ensures a smooth, lump-free glaze. Next, gradually whisk in the water until everything is well combined. Place the saucepan over medium heat. Stirring constantly is key here. We want to bring the mixture to a gentle boil. As it heats, you’ll notice it starts to thicken. This thickening process is essential for creating that beautiful, gelatinous texture that holds the strawberries in place. Continue to cook and stir for about 1 to 2 minutes after it begin extracts to boil, just until the mixture has thickened to a translucent, syrupy consistency.
Incorporating the Jello
Once our cornstarch mixture has thickened, remove it from the heat. Now, it’s time to introduce the strawberry jello. While the cornstarch mixture is still hot, add the strawberry jello powder to the saucepan. Whisk vigorously until the jello powder is completely dissolved. The heat from the cornstarch mixture will help the jello dissolve quickly and integrate smoothly. You should end up with a beautiful, vibrant red liquid. Let this mixture cool slightly for about 10-15 minutes. We don’t want it piping hot when we add the strawberries, as this could make them too mushy. We’re looking for it to be warm, but not hot enough to cook the fruit significantly.
Assembling and Chilling Your Pie
With our glaze cooled to a warm temperature, it’s time to assemble the pie. Gently arrange the sliced strawberries in your pre-baked and cooled pie crust. Try to distribute them evenly for a beautiful presentation and consistent flavor in every slice. Once the strawberries are nestled in the crust, carefully pour the warm jello-cornstarch mixture over them. Make sure to coat all the strawberries with the glaze. Gently tilt the pie plate to help the glaze flow evenly and fill any gaps.
Finally, the most important, and perhaps the hardest, part: chilling! Cover the pie loosely with plastic wrap (being careful not to touch the filling) and refrigerate it for at least 4 hours, or preferably overnight. This chilling time is absolutely crucial for the pie to set properly. The jello needs time to firm up, creating that signature wobbly, yet stable, filling that makes strawberry pie so delightful. Once it’s fully set, you’ll have a stunning strawberry pie ready to be sliced and enjoyed. Serve it plain, or with a dollop of whipped cream or a scoop of vanilla ice cream for an extra special treat. Enjoy your homemade, refreshing strawberry pie!
Conclusion:
And there you have it – a truly delightful strawberry pie recipe that’s sure to become a family favorite! This recipe is fantastic because it strikes the perfect balance between sweet, slightly tart strawberries and a rich, buttery crust. It’s remarkably approachable, making it a wonderful choice for both novice bakers and seasoned pros looking for a consistently delicious outcome. The vibrant color alone is enough to brighten any occasion!
For serving, I highly recommend a dollop of freshly whipped cream or a scoop of vanilla bean ice cream. The cool creaminess beautifully complements the warm, fruity filling. If you’re feeling adventurous, consider a drizzle of balsamic glaze – the subtle tang adds an unexpected but sophisticated layer of flavor.
Don’t hesitate to play with variations! You could add a hint of lemon zest to the filling for extra brightness, or even a splash of Grand Marnier Extract for an adult twist. For a gluten-free option, a simple almond flour or oat flour crust works beautifully. I truly encourage you to give this strawberry pie a try. It’s a classic for a reason, and I’m confident you’ll love the results!
Frequently Asked Questions:
Can I use frozen strawberries?
Yes, you absolutely can! If using frozen strawberries, be sure to thaw them completely and drain off any excess liquid to prevent a watery pie. You might need to adjust the thickening agent slightly depending on how much liquid is released.
How do I prevent a soggy bottom crust?
Several things can help! Blind baking your crust partially before adding the filling is a great technique. Also, ensuring your filling is sufficiently thickened before pouring it into the crust will help. Don’t overwork your pastry dough, as this can also lead to a tougher, potentially soggy crust.
What’s the best way to store leftover strawberry pie?
Store any leftover strawberry pie tightly covered in the refrigerator. It’s best enjoyed within 2-3 days for optimal freshness and texture.
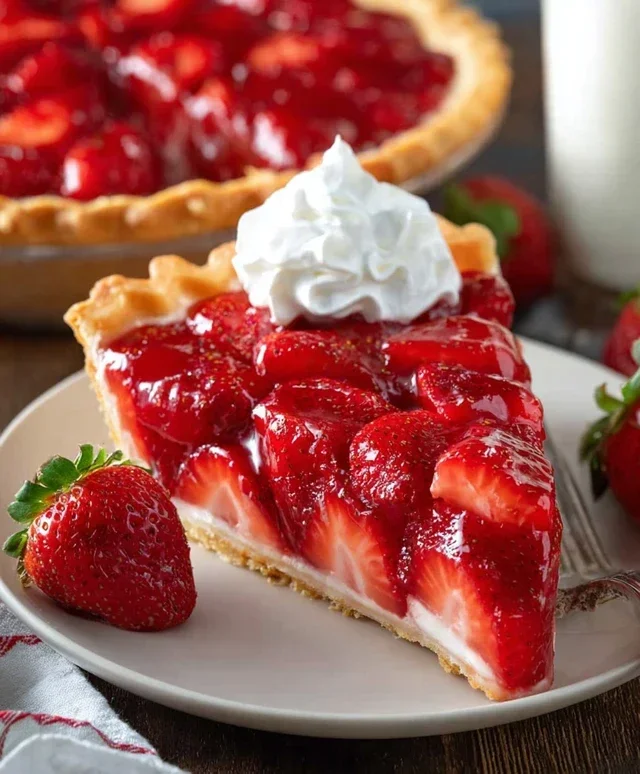
Strawberry Pie
A simple and refreshing strawberry pie with a sweet strawberry filling and a crisp pre-baked crust.
Ingredients
-
1 9″ frozen pie crust (baked)
-
1 cup sugar
-
1 1/2 cup water
-
1/4 cup cornstarch
-
1 lb strawberries (sliced)
-
1 3 oz pkg strawberry jello
Instructions
-
Step 1
In a medium saucepan, whisk together the sugar, water, and cornstarch until smooth. -
Step 2
Cook the mixture over medium heat, stirring constantly, until it thickens and comes to a boil. Boil for 1 minute. -
Step 3
Remove the saucepan from the heat and stir in the strawberry jello until completely dissolved. -
Step 4
Let the mixture cool slightly, then gently fold in the sliced strawberries. -
Step 5
Pour the strawberry filling into the baked pie crust. -
Step 6
Refrigerate the pie for at least 4 hours, or until the filling is firm.
Important Information
Nutrition Facts (Per Serving)
It is important to consider this information as approximate and not to use it as definitive health advice.
Allergy Information
Please check ingredients for potential allergens and consult a health professional if in doubt.