Authentic Mongolian Beef Recipe – Quick & Flavorful
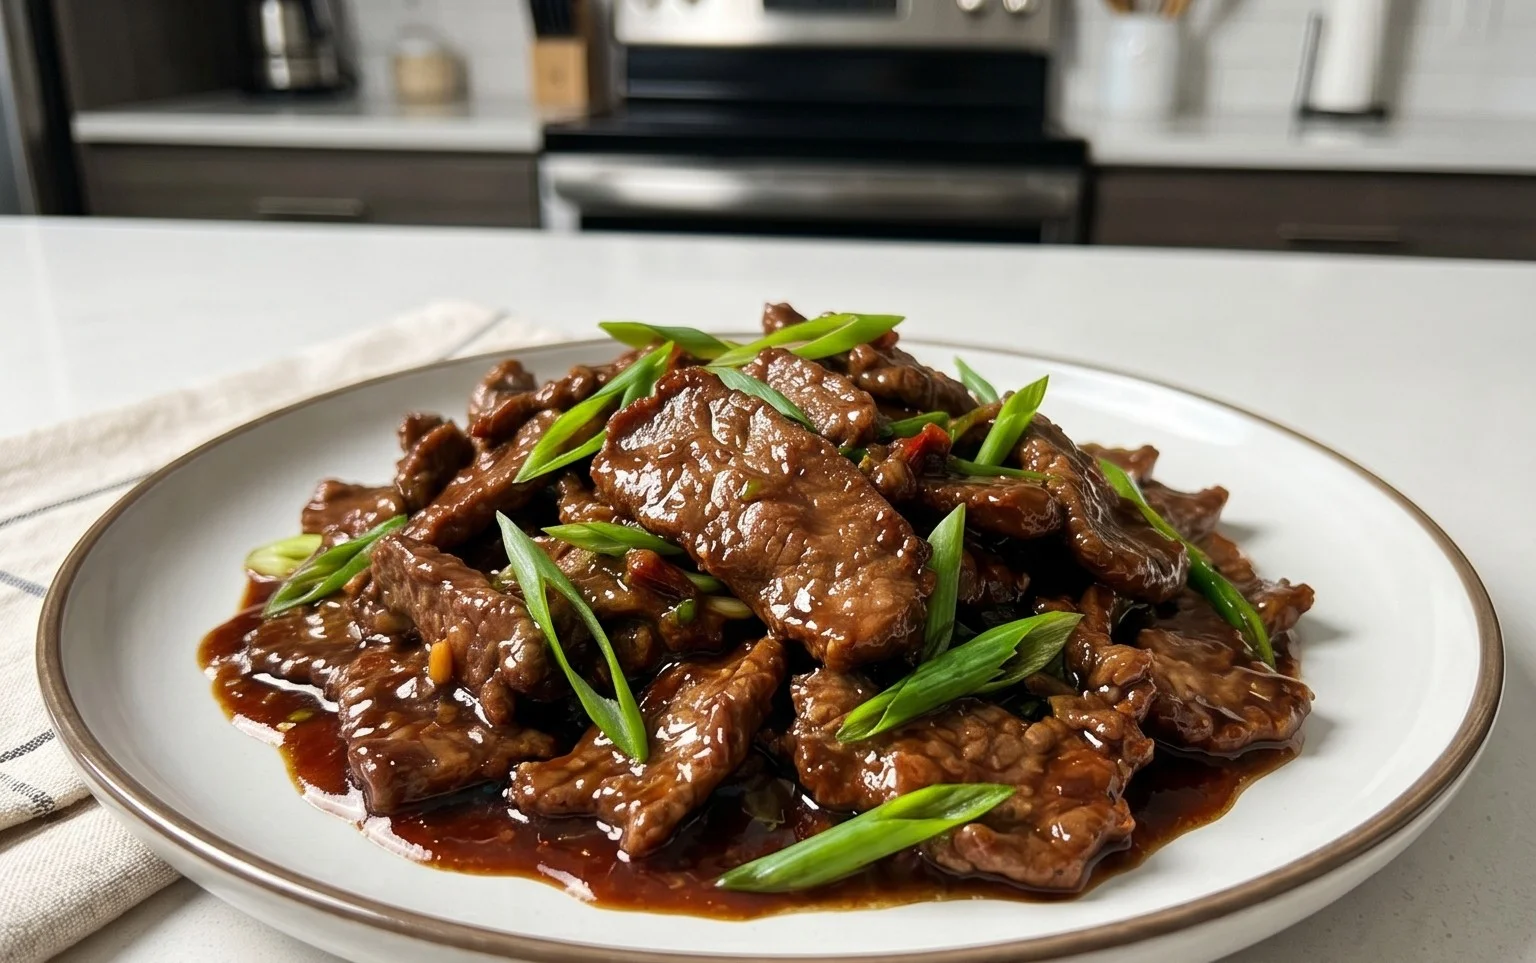
Mongolian Beef is a dish that conjures up images of vibrant wok-fried flavors and a satisfying savory-sweet glaze. It’s a perennial favorite for a reason, isn’t it? That irresistible combination of tender, thinly sliced beef coated in a sticky, umami-rich sauce, often with a subtle hint of spice and the fresh crunch of green onions – it’s pure comfort food with an exciting kick. What makes this particular Mongolian Beef recipe so special is its authentic approach, promising a restaurant-quality experience right in your own kitchen. We’re talking about achieving that perfect balance of textures and tastes that has made Mongolian Beef a global sensation. Get ready to impress yourself and anyone lucky enough to share a plate with you!
Ingredients:
The Art of Crafting Delicious Mongolian Beef
There are some dishes that just transport you. The moment you smell that savory-sweet aroma and see those glistening, tender strips of beef, you know you’re in for a treat. Mongolian Beef is one of those magical dishes. It’s a classic for a reason – that perfect balance of savory, sweet, and a hint of peppery spice, all coating wonderfully tender beef. While it might seem intimidating, making restaurant-quality Mongolian Beef at home is entirely achievable, and I’m here to guide you through every step. The key lies in a few simple techniques, particularly how we prepare the beef to ensure it’s incredibly tender, and how we build that irresistible sauce.
Let’s talk about the star of the show: the beef. Using flank steak is ideal because it has a good amount of flavor and, when sliced thinly against the grain and treated properly, it becomes melt-in-your-mouth tender. The marinade is where the magic begin extracts. We’re not just seasoning the beef; we’re actively working to tenderize it.
Marinating the Beef for Ultimate Tenderness
This first step is crucial for achieving that signature tender texture. In a medium bowl, combine your thinly sliced beef. Now, add the 2 tablespoons of water. This might seem counterintuitive, but the water helps distribute the other ingredients more evenly. Next, we add 2 teaspoons of Shaoxing rice vinegar. The acidity in the vinegar starts to break down the beef’s proteins, contributing to its tenderness. Follow this with ½ teaspoon of Kosher salt. Remember, if you’re using fine table salt, you’ll want to use a bit less as it’s more concentrated. Finally, and this is a secret weapon for tenderness, we add ¼ teaspoon of baking soda. Don’t worry, you won’t taste it! Baking soda creates a slightly alkaline environment, which further tenderizes the meat without affecting its flavor. Gently toss everything together with your hands, making sure each slice of beef is coated. Let this mixture sit for about 15-20 minutes at room temperature. While that’s happening, we can prepare the sauce and other ingredients.
Preparing the Flavorful Sauce and Aromatics
While the beef is marinating, let’s get our sauce ready. In a small bowl, whisk together 1 tablespoon of Shaoxing rice vinegar, 3 tablespoons of granulated sugar, and 2 tablespoons of regular soy sauce. This forms the base of our delicious sauce. We want to ensure all the sugar is dissolved and the soy sauce is well incorporated. Set this aside. Now, let’s prepare our aromatics. Mince your garlic – about 1 tablespoon, which is roughly 2 cloves. Slice your yellow onion into thin half-moon shapes. And for the green onions, we’ll separate the white parts from the green parts, and then cut both into about 2-inch lengths. This is important because the white parts will cook a little longer and can handle more direct heat, while the green parts are best added towards the end for a burst of fresh flavor and color. If you’re opting for rice vermicelli, get them ready to cook according to package directions; they’re usually quite quick!
The Cooking Process: Bringin extractg it All Together
Now for the exciting part – cooking!
1. Coating the Beef: After your beef has marinated for 15-20 minutes, drain off any excess liquid. This is important to prevent the beef from steaming instead of searing. In a separate bowl, add the 2 tablespoons of cornstarch and 1 teaspoon of cracked black pepper. Add the marinated beef to the cornstarch mixture and toss until each slice is evenly coated. The cornstarch is what will create that lovely, slightly crispy exterior and helps the sauce cling beautifully.
2. Searing the Beef: Heat 1 tablespoon of oil in a large skillet or wok over medium-high heat. You want the oil to be shimmering, but not smoking. Carefully add the cornstarch-coated beef in a single layer. It’s crucial not to overcrowd the pan, as this will cause the beef to steam. If necessary, cook the beef in batches. Sear the beef for about 1-2 minutes per side, or until it’s nicely browned. You’re not looking to fully cook it through at this stage; we’re just developing that beautiful crust. Remove the seared beef from the pan and set it aside on a plate.
3. Sautéing the Aromatics: Add the sliced yellow onion and the white parts of the green onions to the same skillet (you may need to add a tiny bit more oil if the pan looks dry). Sauté for about 2-3 minutes until they start to soften and become fragrant. Then, add the minced garlic and cook for another 30 seconds until fragrant, being careful not to burn it.
4. Creating the Sauce and Combining: Pour the prepared sauce mixture (Shaoxing rice vinegar, sugar, and soy sauce) into the skillet with the onions and garlic. Bring the sauce to a simmer, stirring constantly. Let it bubble for about 1 minute to thicken slightly. Now, return the seared beef to the skillet. Add the green parts of the green onions. Toss everything together gently, coating the beef and onions in the thickened sauce. Cook for another 1-2 minutes, just until the beef is cooked through and coated in the glossy sauce. If you’re using the rice vermicelli, you can toss them in now as well, or serve them on the side.
5. Serving Your Masterpiece: Your delicious Mongolian Beef is ready to be served! Ladle it over steamed white rice for a classic pairing. The contrast between the fluffy rice and the savory, slightly sweet beef is simply divine. You can garnish with a few extra sliced green onions or some sesame seeds if you like. Enjoy the fruits of your labor – a truly satisfying homemade meal!
Conclusion:
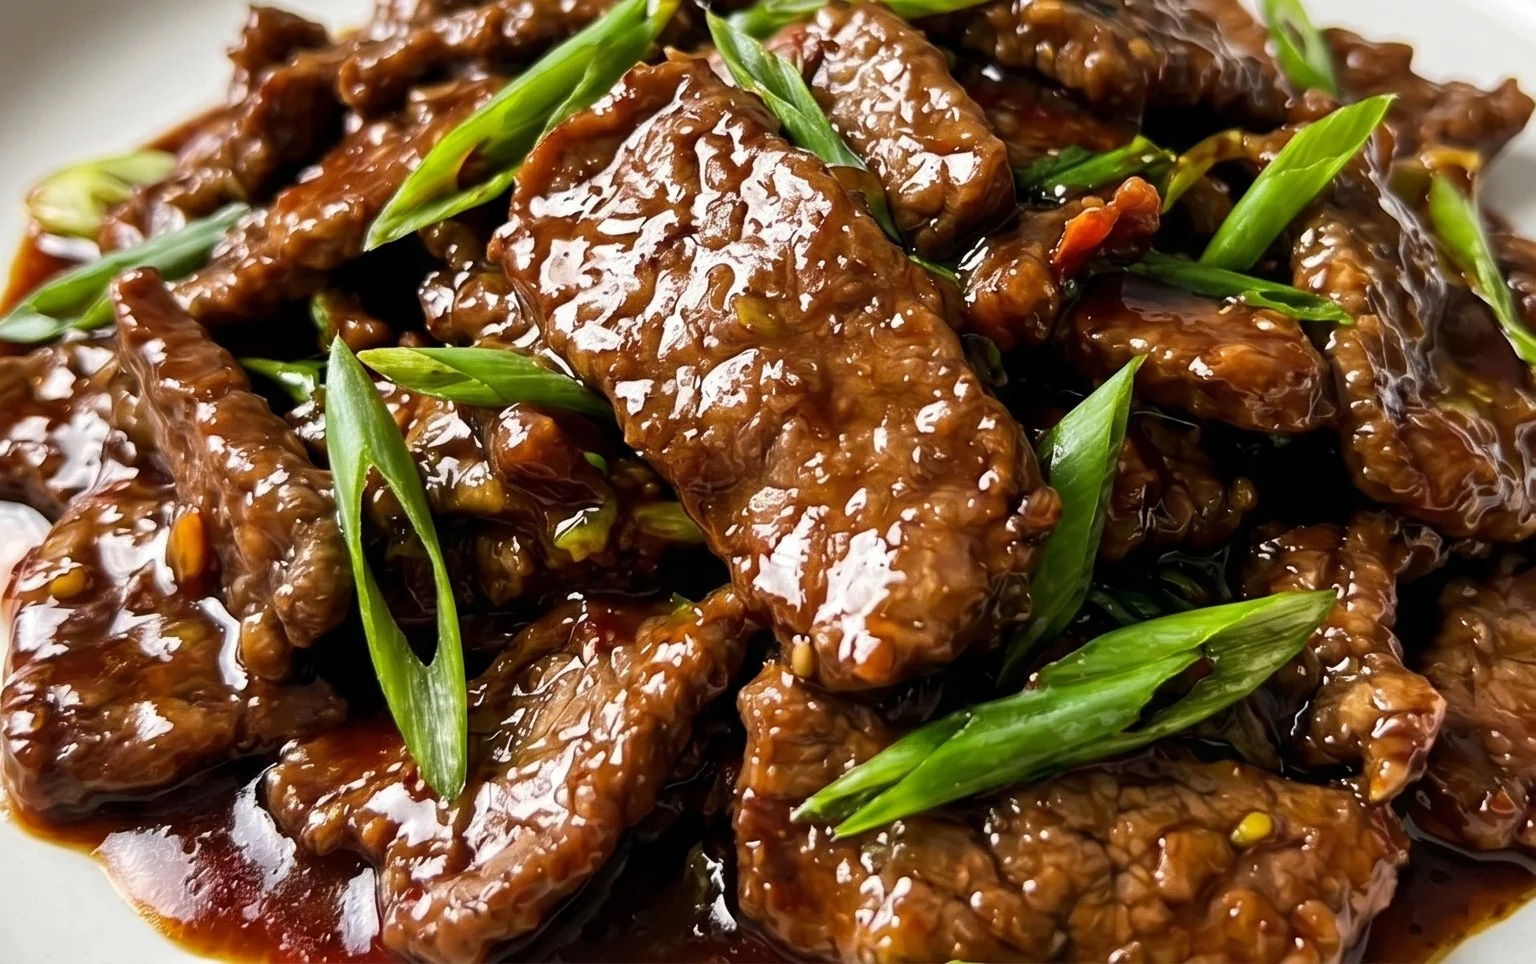
And there you have it – your guide to creating mouthwatering Mongolian Beef right in your own kitchen! This recipe truly shines because it delivers that incredible sweet, savory, and slightly tangy flavor profile that makes the dish so beloved, without requiring restaurant-level skills. The crispy, tender beef coated in that luscious sauce is simply irresistible. I encourage you to give this Mongolian Beef recipe a try; I’m confident it will become a regular in your dinner rotation.
For serving, this dish is a natural partner for fluffy white or brown rice. Steamed broccoli or snow peas make for a vibrant and healthy side that complements the richness of the beef perfectly. You can also get creative with variations! For a spicier kick, add a pinch of red pepper flakes to the sauce. If you prefer a slightly sweeter sauce, increase the brown sugar slightly. For a healthier twist, consider using lean sirloin or even chicken breast.
Frequently Asked Questions:
What cut of beef is best for Mongolian Beef?
For the best texture, I recommend using a tender cut like flank steak, sirloin, or skirt steak. The key is to slice it thinly against the grain to ensure it’s tender and absorbs the sauce beautifully.
Can I make the sauce ahead of time?
Absolutely! The sauce can be prepared a day in advance and stored in an airtight container in the refrigerator. This makes weeknight cooking even faster. Just give it a good stir before adding it to your stir-fry.
How can I make the beef extra crispy?
The cornstarch coating is crucial for creating that delightful crispiness. Ensure the beef is well-coated and don’t overcrowd the pan when frying. Frying in batches will help achieve maximum crispness.
Mongolian Beef
A classic American Chinese stir-fry featuring tender beef coated in a savory and slightly sweet sauce.
Ingredients
-
1 pound beef flank steak (thinly sliced (between ⅛ to ¼ inch thick))
-
2 tablespoons water
-
2 teaspoons Shaoxing rice vinegar
-
½ teaspoon Kosher salt ((a little less if using fine salt))
-
¼ teaspoon baking soda
-
2 tablespoons cornstarch
-
1 tablespoon oil (any neutral oil)
-
1 teaspoon cracked black pepper (more or less to taste)
-
1 tablespoon Shaoxing rice vinegar
-
3 tablespoons granulated sugar
-
2 tablespoons regular soy sauce
-
1 tablespoon garlic (minced (about 2 cloves))
-
½ large yellow onion (sliced)
-
1 bunch green onion (cut into 2 inch pieces (separate the white and green parts))
-
1 ounce rice vermicelli (medium thickness (optional; use more or less to preference))
Instructions
-
Step 1
In a bowl, combine the thinly sliced beef with 2 tablespoons of water, 2 teaspoons of Shaoxing rice vinegar, Kosher salt, and baking soda. Mix well and let it marinate for 15 minutes. Then, stir in the cornstarch until the beef is evenly coated. -
Step 2
Heat 1 tablespoon of oil in a wok or large skillet over medium-high heat. Add the marinated beef in a single layer (cook in batches if necessary to avoid crowding) and stir-fry until browned, about 2-3 minutes per side. Remove the beef from the wok and set aside. -
Step 3
In the same wok, add the sliced yellow onion and the white parts of the green onion. Stir-fry for 1-2 minutes until slightly softened. -
Step 4
Add the minced garlic and cracked black pepper to the wok and stir-fry for another 30 seconds until fragrant. -
Step 5
In a small bowl, whisk together 1 tablespoon of Shaoxing rice vinegar, granulated sugar, and regular soy sauce. Pour this sauce mixture into the wok with the onions and garlic. Bring to a simmer and cook for 1-2 minutes until the sauce thickens slightly. -
Step 6
Return the cooked beef to the wok. Add the green parts of the green onion and toss everything together to coat the beef evenly in the sauce. If using, add the cooked rice vermicelli and toss to combine. -
Step 7
Serve immediately, optionally over rice.
Important Information
Nutrition Facts (Per Serving)
It is important to consider this information as approximate and not to use it as definitive health advice.
Allergy Information
Please check ingredients for potential allergens and consult a health professional if in doubt.