Raspberry Lemon Cake- Bursting with Flavor
Raspberry Lemon Cake is more than just a dessert; it’s a burst of sunshine on a plate. Imagin extracte the delightful tang of fresh raspberries mingling with the zesty brightness of lemon – a flavor combination that’s simply irresistible. This classic pairing has captured hearts for a reason: it’s refreshingly light yet incredibly satisfying, perfect for any occasion from a casual afternoon tea to a celebratory gathering. What makes our Raspberry Lemon Cake truly special is the delicate balance we achieve, ensuring every bite delivers a perfect symphony of sweet and tart. The tender cake crum extractb, infused with both vibrant raspberry and invigorating lemon, makes this a treat you’ll want to bake again and again. Get ready to experience pure bliss with this delightful Raspberry Lemon Cake!
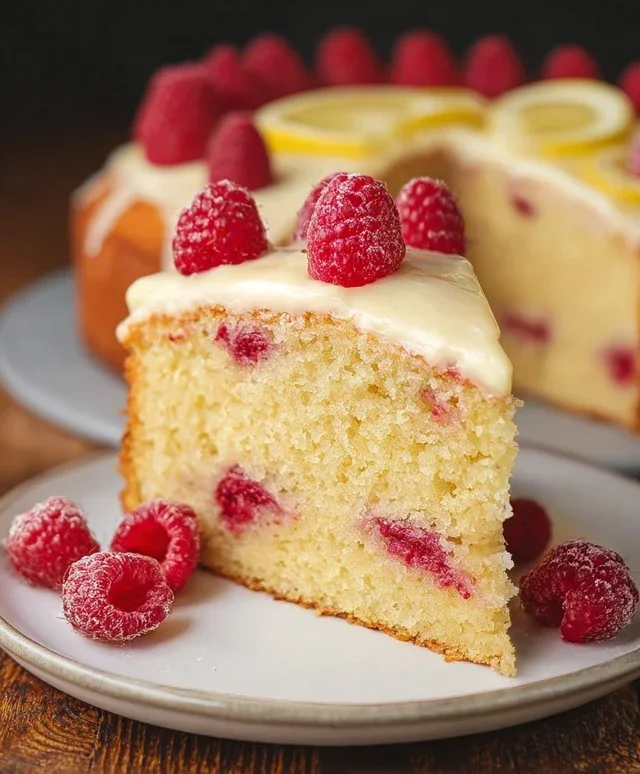
Raspberry Lemon Cake
There’s something undeniably joyful about a perfectly baked cake, and when you combine the bright tang of lemon with the sweet burst of raspberries, you get a treat that’s both refreshing and incredibly satisfying. This Raspberry Lemon Cake is a celebration of vibrant flavors, and it’s surprisingly easy to bring to life in your own kitchen. The tender, moist crum extractb infused with zesty lemon, studded with juicy raspberries, and crowned with a luscious lemon buttercream frosting, makes this cake a showstopper for any occasion. Whether you’re hosting a brunch, celebrating a birthday, or simply craving something delicious, this cake is sure to impress. And the best part? It’s a gluten-free delight, meaning everyone can enjoy a slice of this sunshine-filled confection.
Ingredients:
Bringin extractg the Cake to Life
Let’s get started on this delightful cake! The first step in any successful baking endeavor is to prepare your ingredients and your baking pans. Preheat your oven to 350°F (175°C). Grease and flour (using gluten-free flour) two 9-inch round cake pans. You can also line the bottoms with parchment paper for extra assurance that your cakes won’t stick. In a medium bowl, whisk together the gluten-free flour, baking powder, baking soda, and salt. This dry ingredient mixture ensures an even distribution of leavening agents and flavor enhancers. Having this ready to go prevents any last-minute fumbling.
Next, in a large mixing bowl, cream together the 1 cup of room-temperature unsalted butter and 1 ½ cups of sugar. This is a crucial step for creating a light and airy cake texture. Beat them together with an electric mixer on medium-high speed until the mixture is pnon-alcoholic ale and fluffy, which usually takes about 3-5 minutes. This process incorporates air into the batter, which will contribute to the cake’s rise and tender crum extractb. Gradually add the 3 large eggs, one at a time, beating well after each addition. Don’t rush this; allowing each egg to fully incorporate will result in a smoother, more homogenous batter. Now, stir in the 3 tablespoons of lemon zest and ⅓ cup of lemon juice. The zest provides a potent burst of fresh lemon flavor, while the juice adds moisture and a bit more tang. The aroma at this stage is already heavenly!
In a separate small bowl, whisk together the 1 cup of unsweetened plain yogurt and ¼ cup of milk. The yogurt is key to making this cake incredibly moist and tender, especially with gluten-free flour, which can sometimes be prone to dryness. The acidity in the yogurt also reacts with the baking soda, contributing to a better rise. Now, you’re going to alternate adding the dry ingredients and the wet ingredients to the butter-sugar-egg mixture. Begin extract by adding about a third of the dry ingredients to the bowl and mixing on low speed until just combined. Then, add half of the yogurt and milk mixture and mix until just incorporated. Continue alternating, ending with the dry ingredients. Be careful not to overmix at this stage, as overmixing gluten-free flour can lead to a tough cake. A few streaks of flour are perfectly acceptable.
The final touch before baking is to gently fold in the 2 cups of fresh raspberries. Do this carefully by hand with a spatula. You want the raspberries to be distributed throughout the batter without breaking them down too much. Some will naturally burst during baking, which creates lovely pockets of raspberry flavor and color. Divide the batter evenly between the two prepared cake pans. Smooth the tops with your spatula. Bake for 30-35 minutes, or until a wooden skewer inserted into the center of the cakes comes out clean. Allow the cakes to cool in their pans for about 10-15 minutes before inverting them onto a wire rack to cool completely. This resting period in the pan helps the cakes firm up, making them easier to handle.
Crafting the Luscious Lemon Buttercream
While your cakes are cooling, it’s time to whip up the perfect accompaniment: a dreamy lemon buttercream frosting. In a large mixing bowl, beat the 2 cups of room-temperature unsalted butter until it’s smooth and creamy. This is your foundation. Gradually add the 5 cups of powdered sugar, about 1 cup at a time, beating on low speed until it’s mostly incorporated. Once all the powdered sugar is added, increase the mixer speed to medium-high and beat for another 3-5 minutes until the frosting is light and fluffy. This long beating time is essential for a smooth, lump-free frosting. Finally, stir in the 2 teaspoons of lemon juice. This adds a subtle tartness that perfectly balances the sweetness of the frosting and complements the cake’s flavors beautifully. If the frosting is too thick, you can add a tiny splash more milk or lemon juice, a teaspoon at a time, until you reach your desired consistency. If it’s too thin, add a little more powdered sugar.
Assembling Your Masterpiece
Once the cake layers are completely cool, you’re ready for the final, most rewarding step: assembly! Place one cake layer on your serving plate or cake stand. Spread a generous amount of the lemon buttercream frosting over the top, creating an even layer. Carefully place the second cake layer on top. Now, frost the entire cake – the top and sides – with the remaining buttercream. You can create a smooth finish by using an offset spatula, or opt for a more rustic, swirled look. For an extra touch, you could sprinkle a few fresh raspberries and a little extra lemon zest on top before serving. Slice, serve, and enjoy the pure bliss of your homemade Raspberry Lemon Cake!
Conclusion:
I hope you’re as excited to bake this Raspberry Lemon Cake as I am to eat it! This recipe truly hits all the right notes, offering a perfect balance of bright citrus and sweet berry, all enveloped in a wonderfully moist and tender crum extractb. It’s a celebration cake, a delightful afternoon treat, or simply a way to brighten any day. The vibrant colors are as appealing as the flavor, making it a beautiful centerpiece for any occasion.
Serving this cake is a joy in itself. I love it simply dusted with powdered sugar, but a dollop of fresh whipped cream or a light lemon glaze takes it to the next level. It pairs wonderfully with a cup of tea or a glass of chilled sparkling water. For variations, don’t hesitate to experiment! You could fold in some white chocolate chips for added richness, or swap the raspberries for strawberries or blueberries. A sprinkle of fresh mint on top adds an unexpected refreshing twist.
I wholeheartedly encourage you to give this Raspberry Lemon Cake a try. It’s a recipe that’s both forgiving and incredibly rewarding, guaranteed to impress your friends and family. Let me know how yours turns out!
Frequently Asked Questions:
Can I use frozen raspberries instead of fresh?
Absolutely! If using frozen raspberries, I recommend not thawing them completely before folding them into the batter. This helps prevent them from bleeding too much color and making the cake batter overly wet. You might need to bake the cake a few minutes longer.
How long does the Raspberry Lemon Cake last?
Stored in an airtight container at room temperature, this cake will stay fresh for about 2-3 days. For longer storage, you can refrigerate it for up to a week, though it might become slightly drier. Bringin extractg it back to room temperature before serving is recommended.
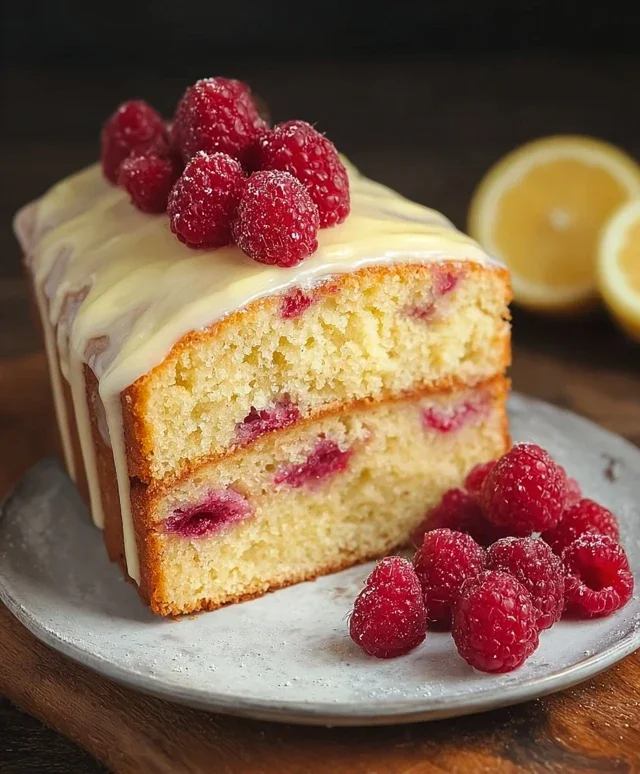
Raspberry Lemon Cake
A moist and flavorful gluten-free cake bursting with fresh raspberries and bright lemon.
Ingredients
-
3 cups gluten-free flour
-
1 ½ cups sugar
-
1 cup unsalted butter, room temperature
-
1 cup unsweetened plain yogurt
-
¼ cup milk
-
1 tbsp baking powder
-
¾ tsp baking soda
-
½ tsp salt
-
3 eggs
-
3 tbsp lemon zest
-
⅓ cup lemon juice
-
2 cups fresh raspberries
-
2 cups unsalted butter, room temperature
-
5 cups powdered sugar
-
2 tsp lemon juice
Instructions
-
Step 1
Preheat oven to 350°F (175°C). Grease and flour a 9×13 inch baking pan. -
Step 2
In a large bowl, cream together the softened butter and sugar until light and fluffy. -
Step 3
Beat in the eggs one at a time, then stir in the yogurt, milk, lemon zest, and lemon juice. -
Step 4
In a separate bowl, whisk together the gluten-free flour, baking powder, baking soda, and salt. Gradually add the dry ingredients to the wet ingredients, mixing until just combined. Gently fold in the raspberries. -
Step 5
Pour the batter into the prepared baking pan and bake for 30-35 minutes, or until a wooden skewer inserted into the center comes out clean. -
Step 6
While the cake cools, prepare the frosting. In a medium bowl, beat the softened butter until creamy. Gradually beat in the powdered sugar and 2 tsp lemon juice until smooth and spreadable. -
Step 7
Once the cake has cooled completely, frost with the lemon buttercream.
Important Information
Nutrition Facts (Per Serving)
It is important to consider this information as approximate and not to use it as definitive health advice.
Allergy Information
Please check ingredients for potential allergens and consult a health professional if in doubt.