Buster Bar Ice Cream Dessert Recipe- Easy & Delicious
Buster Bar Ice Cream Dessert is more than just a frozen treat; it’s a nostalgic journey back to carefree summer days and a crowd-pleasing masterpiece that never fails to impress. We’ve all experienced that irresistible craving for something rich, chocolatey, and incredibly satisfying, and this dessert delivers precisely that. The magic of the Buster Bar Ice Cream Dessert lies in its perfect harmony of textures and flavors: a crisp, chocolatey shell enveloping a creamy, cool ice cream core, often studded with delightful peanut butter or crunchy pieces that add an extra layer of indulgence. It’s that delightful contrast, that satisfying crunch followed by smooth, melt-in-your-mouth goodness, that makes the Buster Bar Ice Cream Dessert so incredibly beloved. Prepare yourselves, because we’re about to unlock the secrets to creating this iconic treat right in your own kitchen!
Buster Bar Ice Cream Dessert
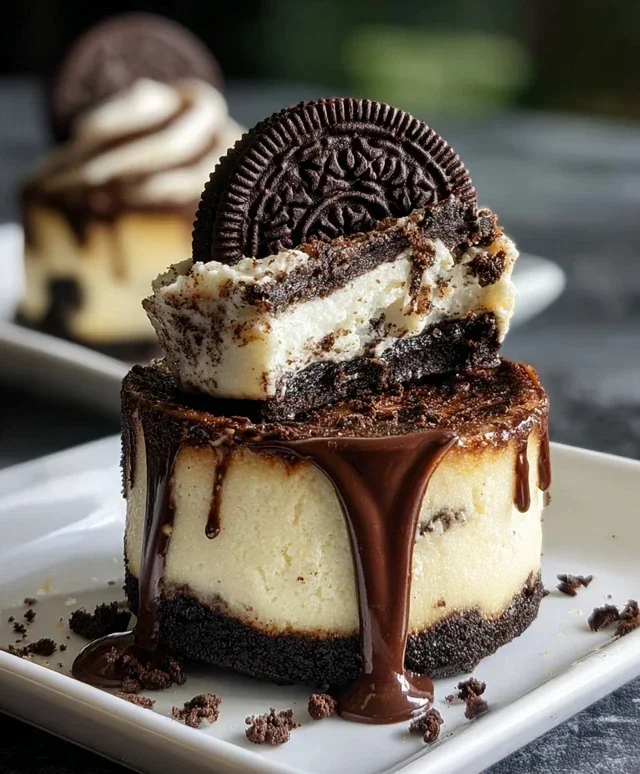
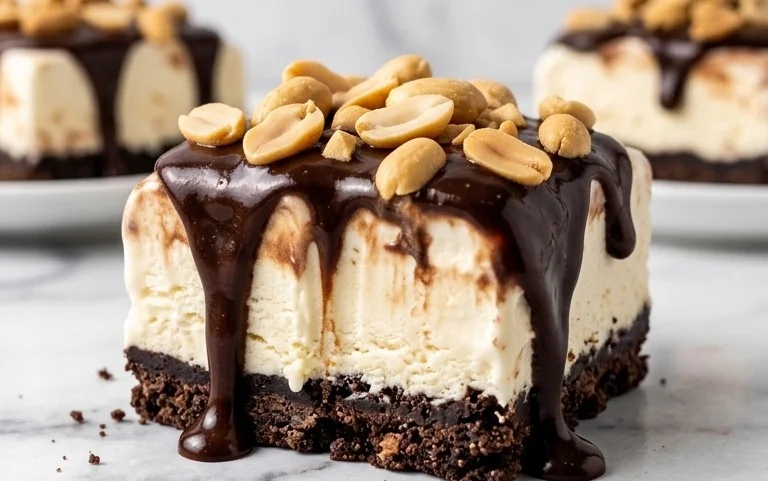
Get ready for a treat that’s sure to be a crowd-pleaser! This Buster Bar Ice Cream Dessert is a nostalgic delight, reminiscent of those beloved frozen treats from childhood, but even better because you can make it right in your own kitchen. It’s a symphony of textures and flavors: a crunchy, chocolatey cookie crust, creamy vanilla ice cream, a rich peanut butter layer, and a decadent chocolate shell. Perfect for parties, summer gatherings, or simply when a serious sweet craving strikes, this dessert is surprisingly easy to assemble and incredibly rewarding. We’re talking about a layered masterpiece that transforms simple ingredients into something truly special. Let’s dive in!
Ingredients:
Getting Started: The Foundation
The first step in creating our delicious Buster Bar Ice Cream Dessert is to prepare the base. This is what gives our dessert that satisfying crunch and chocolatey goodness.
Serving Your Masterpiece
Once your Buster Bar Ice Cream Dessert is completely frozen and firm, it’s ready to be served! To get nice, clean slices, let the pan sit at room temperature for about 5-10 minutes before cutting. Use a sharp knife dipped in hot water (and wiped dry between cuts) to slice it into squares. You’ll be met with applause, I’m sure of it! Enjoy this homemade delight that’s sure to bring smiles all around.
Conclusion:
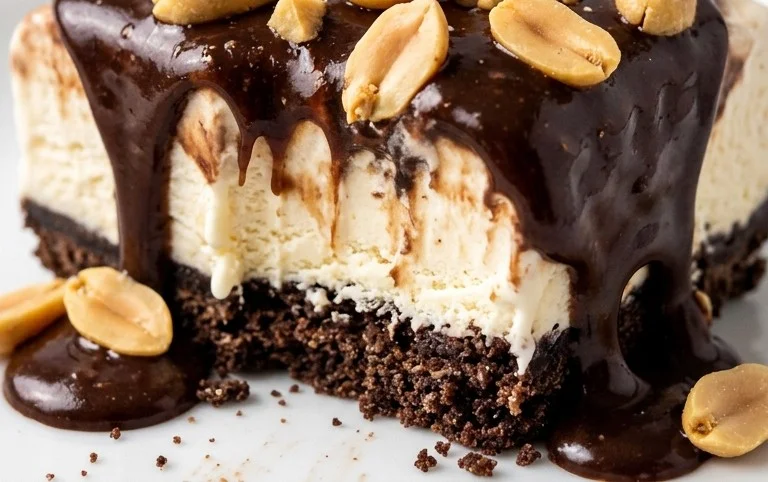
So there you have it – your very own homemade Buster Bar Ice Cream Dessert! I truly hope you’ve enjoyed diving into this recipe. What I love most about this dessert is its incredible balance of textures and flavors. The creamy ice cream, the satisfying crunch of the peanuts, and that irresistible chocolate shell all come together to create a truly nostalgic and utterly delicious treat. It’s the perfect make-ahead dessert for parties, family gatherings, or even just a special weeknight indulgence.
Serving suggestions abound! This Buster Bar Ice Cream Dessert is fantastic on its own, but don’t be afraid to get creative. A drizzle of extra hot fudge sauce or a scattering of mini chocolate chips can elevate it further. It also pairs wonderfully with a dollop of whipped cream or a side of fresh berries. And for those who love to experiment, consider adding a swirl of caramel into the ice cream layer before freezing, or even incorporating some chopped pretzels for an extra salty-sweet kick.
I wholeheartedly encourage you to give this recipe a try. It’s surprisingly simple to assemble, and the results are incredibly rewarding. Imagin extracte the smiles of delight when you present this homemade masterpiece! This Buster Bar Ice Cream Dessert is guaranteed to become a new family favorite.
Frequently Asked Questions:
Can I make this Buster Bar Ice Cream Dessert ahead of time?
Absolutely! In fact, it’s best made ahead. Once assembled, you’ll need to freeze it for at least 6-8 hours, or preferably overnight, to ensure it sets properly. This makes it a fantastic option for entertaining.
What kind of ice cream works best for this recipe?
Vanilla ice cream is the classic choice and provides a wonderful base for all the other flavors. However, you can certainly experiment with other flavors like chocolate or even a peanut butter swirl ice cream for a different take on this beloved Buster Bar treat.
How do I store leftover Buster Bar Ice Cream Dessert?
If by some chance you have leftovers, simply wrap the remaining portion tightly in plastic wrap and then in foil to prevent freezer burn. It will keep well in the freezer for up to two weeks.
Buster Bar Ice Cream Dessert
A no-bake ice cream dessert layered with crushed Oreos, peanut butter, ice cream, and a chocolate shell.
Ingredients
-
1 14.3 oz pkg. of Oreo cookies, crushed
-
1/2 C butter, melted
-
1/2 gal. vanilla ice cream, softened
-
1 lb. Spanish peanuts
-
2 C powdered confectioner’s sugar
-
12 oz semi sweet chocolate chips
-
1/2 C butter
-
12 oz evaporated milk
Instructions
-
Step 1
Crush Oreo cookies and mix with 1/2 C melted butter. Press into the bottom of a 9×13 inch pan. -
Step 2
Spread softened vanilla ice cream evenly over the cookie crust. -
Step 3
Sprinkle chopped Spanish peanuts over the ice cream layer. -
Step 4
In a saucepan, combine powdered confectioner’s sugar, 1/2 C butter, and evaporated milk. Heat over medium-low heat, stirring constantly, until smooth and melted. Do not boil. -
Step 5
Add semi-sweet chocolate chips to the sugar mixture and stir until completely melted and smooth. This is your chocolate shell. -
Step 6
Pour the warm chocolate mixture evenly over the peanut layer. Drizzle gently if needed to cover. -
Step 7
Freeze for at least 4 hours, or until firm. Cut into squares and serve immediately.
Important Information
Nutrition Facts (Per Serving)
It is important to consider this information as approximate and not to use it as definitive health advice.
Allergy Information
Please check ingredients for potential allergens and consult a health professional if in doubt.