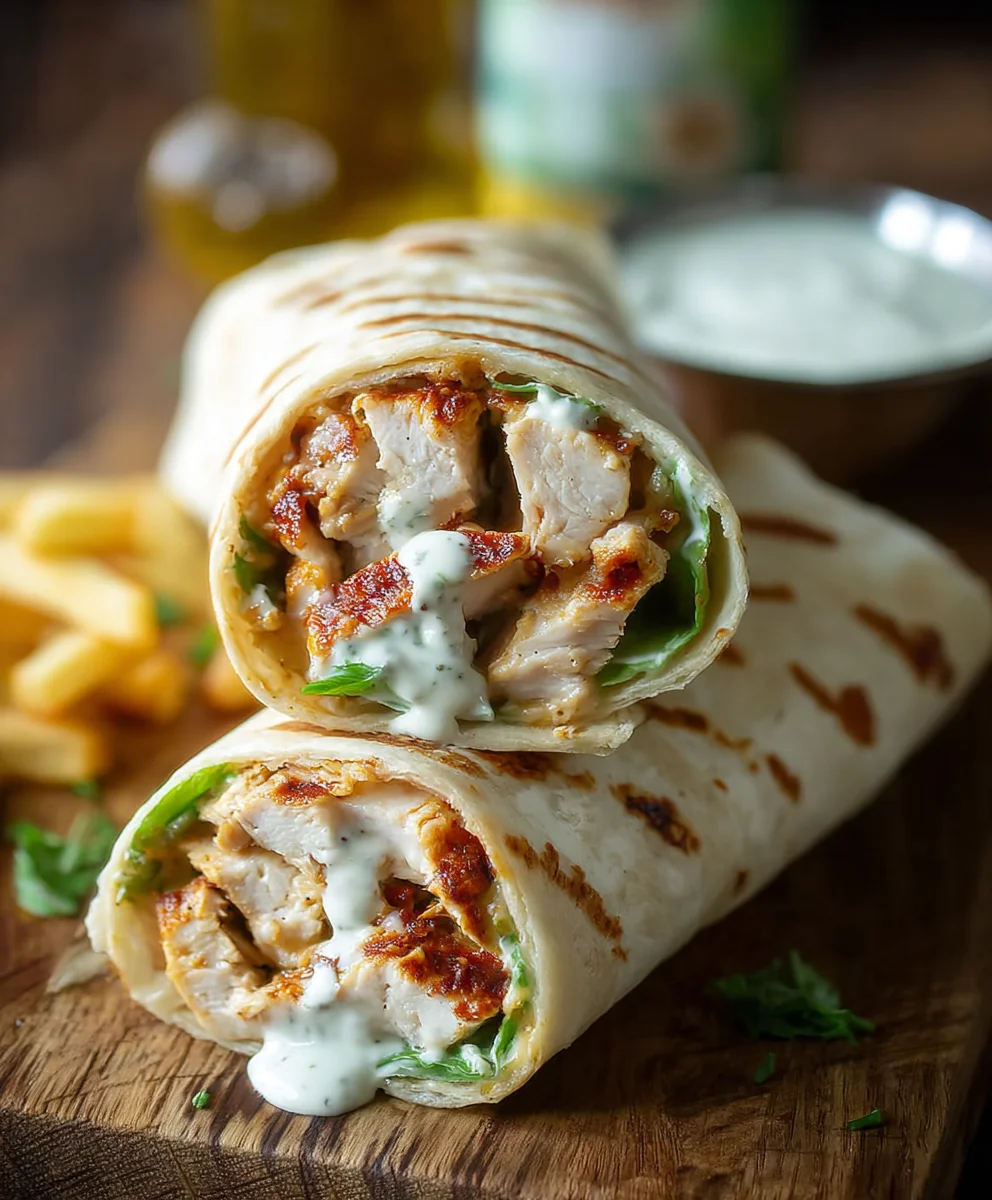
Easy Chicken Ranch Wraps Recipe-Quick Weeknight Meal
Chicken Ranch Wraps are the ultimate weeknight warrior, a culinary cbeef hampion that consistently delivers on flavor, satisfaction, and sheer deliciousness. There’s something undeniably comforting about these handheld delights. Perhaps it’s the creamy, tangy ranch dressing that binds everything together, or the tender, seasoned chicken that provides a hearty foundation. Or maybe it’s the delightful crunch of fresh vegetables, offering a refreshing contrast to the savory elements. Whatever the secret sauce, these Chicken Ranch Wraps have earned their spot in kitchens everywhere for a reason. They are incredibly versatile, making them perfect for a quick lunch, a satisfying dinner, or even a crowd-pleasing appetizer. This recipe will guide you to crafting the perfect Chicken Ranch Wrap, ensuring every bite is a harmonious blend of textures and tastes.
Ingredients:
- 2 cups cooked grilled chicken breasts, chopped
- 4 (8-inch) tortillas
- ¼ cup Hidden Valley® Simply Ranch dressing
- ½ cup shredded mozzarella cheese
- ¼ cup minced fresh cilantro (optional, but highly recommended for a burst of freshness)
- Cooking spray (for pan-frying)
Preparing Your Chicken Ranch Wraps
Now that we have all our delicious components ready, let’s get down to assembling these fantastic Chicken Ranch Wraps. This recipe is designed for ease and speed, perfect for a quick lunch or a light dinner. The combination of savory grilled chicken, creamy ranch dressing, and melted mozzarella cheese wrapped in a soft tortilla is simply irresistible. The optional cilantro adds a bright, herbaceous note that really elevates the flavor profile.
Step 1: Preheat and Prep Your Tortillas
The first step to achieving perfectly warm and pliable tortillas is to gently heat them. This makes them much easier to roll without tearing. You can do this in a few ways. If you have a gas stove, you can carefully toast them directly over a low flame for a few seconds on each side until they are just warm and slightly puffed. Alternatively, you can stack them on a microwave-safe plate and microwave them for about 20-30 seconds, or wrap them in a damp paper towel and warm them in a low oven (around 250°F or 120°C) for a few minutes. The goal is just to warm them through, not to cook them further. Once warmed, lay them out flat on your work surface, ready for filling.
Step 2: Assemble the Base Filling
In a medium bowl, combine the chopped cooked grilled chicken breasts with the Hidden Valley® Simply Ranch dressing. Toss everything together gently until the chicken is evenly coated. This is where all the main savory flavor comes from. Ensure you’re using pre-cooked chicken; if you’re grilling your own, make sure it’s fully cooked through before chopping. The ranch dressing acts as both a binder and a flavor enhancer, infusing the chicken with its signature tangy and herbaceous notes. If you’re using the cilantro, stir it in now. Don’t overmix, as you don’t want to mash the chicken.
Step 3: Layer the Goodness
Now it’s time to build your wraps! Take one warmed tortilla and spread about ¼ of the chicken and ranch mixture evenly across one half of the tortilla, leaving a small border around the edges. This ensures that when you roll the wrap, the filling doesn’t all squish out. Don’t overload the tortilla, as this can make rolling difficult. Once the chicken mixture is in place, sprinkle about 1-2 tablespoons of the shredded mozzarella cheese over the top of the chicken. The cheese will melt beautifully as we continue the cooking process, holding everything together.
Step 4: Rolling the Wraps
This is a crucial step for a neat and tidy wrap. Take the edge of the tortilla closest to you and fold it snugly over the filling. Then, tuck in the sides of the tortilla by folding them inwards. Finally, roll the entire wrap up tightly from the folded edge towards the opposite edge. A tight roll will help prevent the filling from spilling out during the cooking phase and will give your wraps a lovely, compact appearance. If your tortillas are a bit stubborn, don’t worry too much; a slightly less-than-perfectly-rolled wrap will still taste just as delicious!
Step 5: Pan-Frying for a Crispy Finish
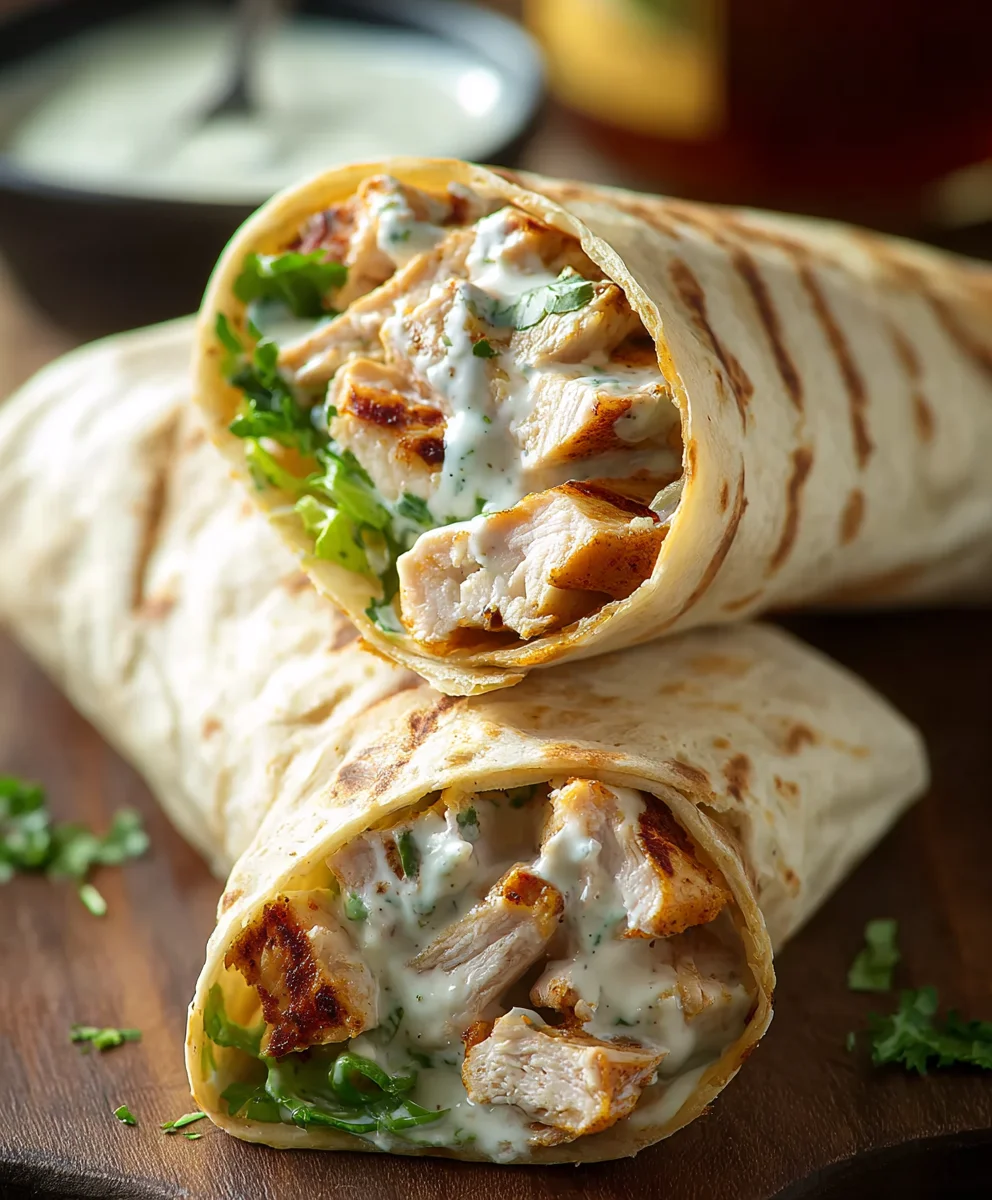
To achieve a delightful golden-brown and slightly crispy exterior, we’ll pan-fry the assembled wraps. Heat a non-stick skillet over medium heat. Lightly coat the skillet with cooking spray or add a tiny bit of butter or oil. Carefully place the rolled wraps seam-side down into the hot skillet. Cook for about 2-3 minutes per side, or until the tortillas are golden brown and the cheese inside is melted and gooey. You might need to use a spatula to gently press down on the wraps as they cook to ensure even browning and melting. This step adds a wonderful texture contrast to the soft interior and a beautiful visual appeal. Once cooked, remove them from the skillet and place them on a cutting board. You can serve them whole, or slice them in half diagonally for a more elegant presentation.
Conclusion:
We hope you’ve enjoyed learning how to create these delicious and satisfying Chicken Ranch Wraps! This recipe is a fantastic weeknight meal option, offering a perfect balance of fresh ingredients and creamy ranch flavor. The tender chicken, crisp lettuce, and zesty ranch dressing all come together beautifully, making each bite a delight. Whether you’re looking for a quick lunch, a portable dinner, or something fun to make with the family, these wraps are sure to be a hit.
For serving suggestions, these Chicken Ranch Wraps are wonderful on their own, or you can pair them with a side of sweet potato fries, a simple green salad, or some tortilla chips for extra crunch. If you’re feeling adventurous, consider adding a sprinkle of shredded cheddar cheese or some thinly sliced red onion for an extra layer of flavor. Don’t be afraid to get creative and make these wraps your own!
We encourage you to try making these Chicken Ranch Wraps soon. They’re a testament to how simple ingredients can create something truly special. Enjoy every delicious wrap!
Frequently Asked Questions about Chicken Ranch Wraps:
Q1: Can I make the chicken for these Chicken Ranch Wraps ahead of time?
Absolutely! You can cook and shred or dice the chicken up to 2 days in advance and store it in an airtight container in the refrigerator. This will make assembling your Chicken Ranch Wraps even quicker when you’re ready to eat.
Q2: What are some good vegetarian or vegan alternatives for these Chicken Ranch Wraps?
For a vegetarian option, you can easily substitute the chicken with seasoned and pan-fried tofu or chickpeas. For a vegan version, use plant-based chicken substitutes, seasoned firm tofu, or roasted vegetables like sweet potatoes and bell peppers. Ensure you use a vegan ranch dressing for a completely plant-based meal.
Easy Chicken Ranch Wraps
Quick and easy chicken ranch wraps, perfect for a weeknight meal.
Ingredients
-
2 cups cooked grilled chicken breasts, chopped
-
4 (8-inch) tortillas
-
1/4 cup Hidden Valley® Simply Ranch dressing
-
1/2 cup shredded mozzarella cheese
-
1/4 cup minced fresh cilantro (optional)
-
Cooking spray
Instructions
-
Step 1
Gently warm the tortillas to make them pliable. You can toast them over a low gas flame, microwave them for 20-30 seconds, or warm them in a low oven (250°F/120°C) for a few minutes. Lay them flat. -
Step 2
In a medium bowl, combine the chopped cooked grilled chicken breasts with the Hidden Valley® Simply Ranch dressing. Toss gently until evenly coated. If using, stir in the minced cilantro. -
Step 3
Spread approximately 1/4 of the chicken and ranch mixture evenly across one half of each warmed tortilla, leaving a small border. Sprinkle 1-2 tablespoons of shredded mozzarella cheese over the chicken mixture on each tortilla. -
Step 4
Fold the edge of the tortilla closest to you over the filling. Tuck in the sides of the tortilla, then roll up tightly from the folded edge towards the opposite edge. -
Step 5
Heat a non-stick skillet over medium heat and lightly coat with cooking spray. Place the rolled wraps seam-side down in the skillet and cook for 2-3 minutes per side, until golden brown and the cheese is melted and gooey. -
Step 6
Remove wraps from the skillet and serve whole or sliced diagonally.
Important Information
Nutrition Facts (Per Serving)
It is important to consider this information as approximate and not to use it as definitive health advice.
Allergy Information
Please check ingredients for potential allergens and consult a health professional if in doubt.