Best Chocolate Chip Banana Bread Recipe – Moist & Easy
Chocolate Chip Banana Bread is more than just a recipe; it’s a warm hug in loaf form, a nostalgic whisper of cozy kitchens and happy mornings. There’s a universal appeal to this classic, isn’t there? It’s that perfect blend of sweet, ripe bananas and rich, decadent chocolate, creating a symphony of flavors that speaks to comfort and simple pleasures. What makes this particular Chocolate Chip Banana Bread so special? It’s the way the soft, moist crum extractb embraces pockets of molten chocolate, offering bursts of pure joy with every bite. We’re talking about a bread that’s incredibly forgiving, perfect for using up those overripe bananas sitting on your counter, and utterly irresistible. Get ready to bake a loaf that will disappear faster than you can say ‘second slice!’
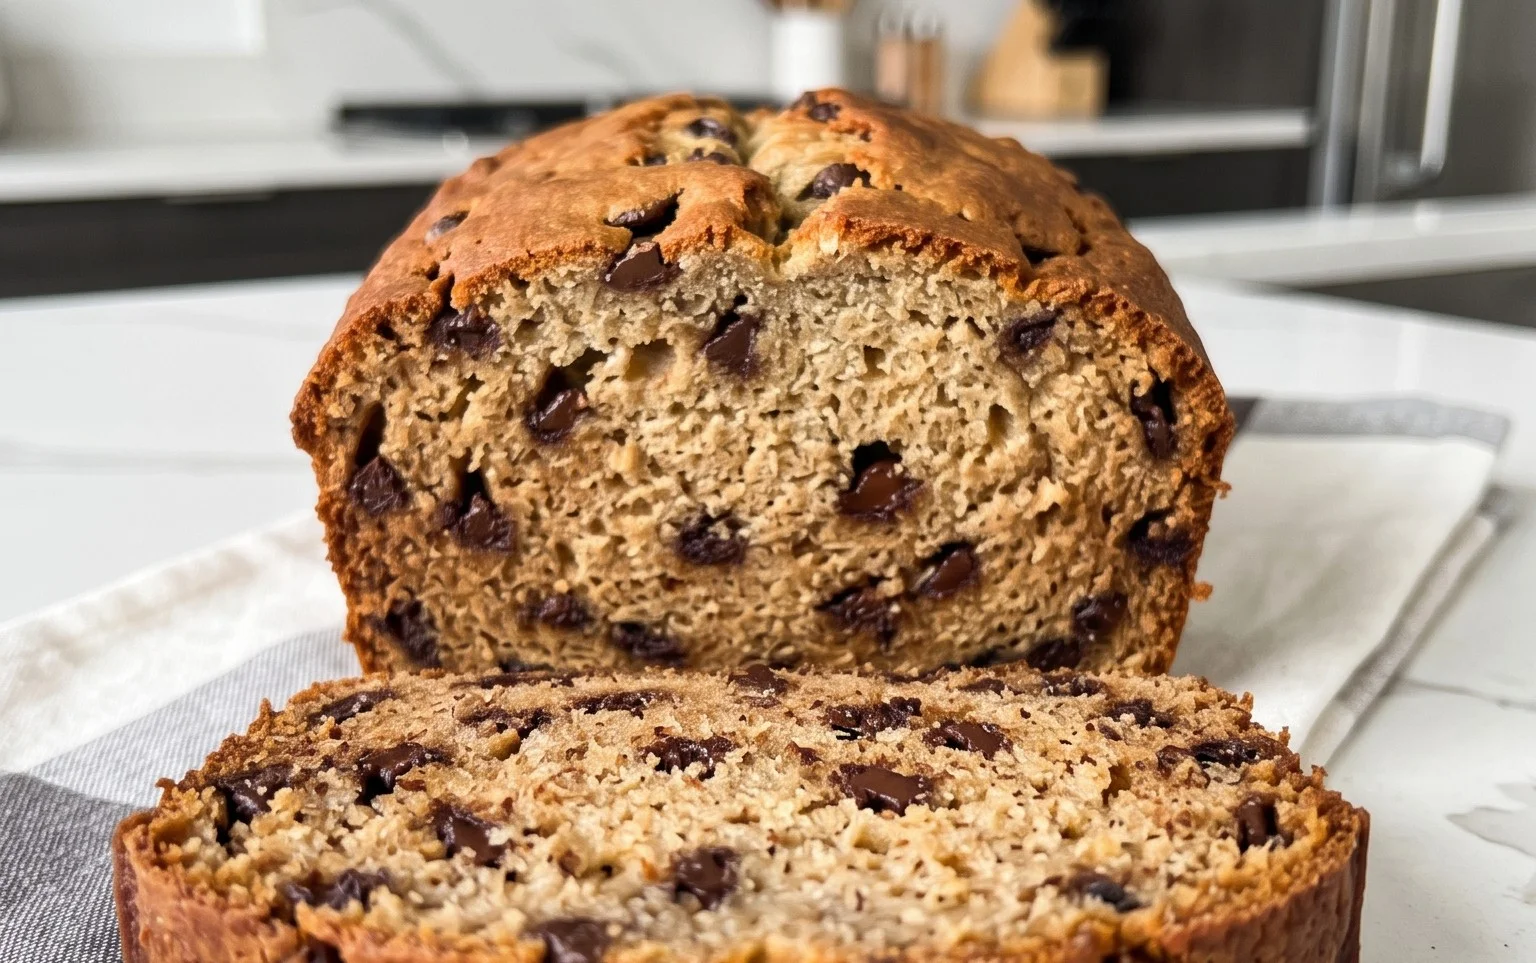
Chocolate Chip Banana Bread
There’s something undeniably comforting about a warm slice of homemade banana bread, and when you add melty chocolate chips to the mix, it becomes pure, unadulterated bliss. This Chocolate Chip Banana Bread recipe is a personal favorite, a delightful twist on a classic that’s both incredibly easy to make and exceptionally delicious. The ripe bananas provide a natural sweetness and moisture that makes the bread incredibly tender, while the brown sugar adds a subtle caramel note. And, of course, the chocolate chips… well, they’re the starry guests that elevate this humble quick bread to dessert-worthy status.
This recipe is perfect for using up those overripe bananas sitting on your counter, the ones that are speckled and soft and probably wouldn’t be eaten plain. They’re the secret ingredient here, contributing a depth of flavor and a wonderfully moist texture that you just can’t achieve with less ripe fruit. Don’t be shy about using very ripe bananas; the darker and spottier, the better!
Whether you’re a seasoned baker or just starting out, this recipe is incredibly forgiving. It’s a fantastic option for a weekend treat, a school lunchbox addition, or even a sweet breakfast on a lazy morning. The aroma that fills your kitchen as it bakes is simply divine, promising a wonderfully satisfying reward. Let’s get baking!
Ingredients:
Instructions:
1.
Preheat and Prepare Your Pan:
First things first, let’s get our oven ready. Preheat your oven to 350°F (175°C). This moderate temperature is ideal for allowing the banana bread to bake through evenly without burning the outside. While the oven heats up, prepare your loaf pan. You’ll want a standard 9×5 inch loaf pan. To ensure your beautiful banana bread releases easily without sticking, grease the pan thoroughly with butter or non-stick cooking spray. For an extra layer of insurance and to make removal even simpler, I like to line the greased pan with parchment paper, leaving an overhang on the two longer sides. This creates a handy “sling” that allows you to lift the entire loaf out of the pan once it’s baked.
2.
Cream the Wet Ingredients:
In a large mixing bowl, combine the mashed ripe bananas, packed light brown sugar, and granulated sugar. Give this a good stir until it’s well combined. The sugars will start to dissolve into the banana mixture. Next, pour in the melted unsalted butter and whisk it in. The butter adds richness and helps create a tender crum extractb. Now, add the two large eggs, one at a time, whisking well after each addition to ensure they are fully incorporated into the batter. Finally, stir in the vanilla extract. Vanilla extract is a flavor enhancer that complements the banana and chocolate beautifully. Then, add the Greek yogurt (or sour cream if you’re using that). The yogurt adds a wonderful tang and extra moisture, contributing to an incredibly soft and tender texture. Mix everything until it’s smooth and homogenous. It might look a little thick at this stage, and that’s perfectly okay.
3.
Combine Dry Ingredients and Mix Them In:
In a separate medium-sized bowl, whisk together the all-purpose flour, baking soda, and salt. Whisking the dry ingredients together first ensures that the baking soda and salt are evenly distributed throughout the flour, which is crucial for proper leavening and consistent flavor. Baking soda is the leavening agent here, and it reacts with the acidic components in the banana and brown sugar to create those lovely air bubbles that make the bread rise. Now, gradually add the dry ingredients to the wet ingredients. I like to add them in two or three additions, stirring gently after each one until just combined. It’s important not to overmix the batter at this stage. Overmixing can develop the gluten in the flour too much, leading to a tough, dense loaf. A few streaks of flour remaining are perfectly fine; they’ll get incorporated as you fold in the chocolate chips.
4.
Fold in the Chocolate Chips:
Now for the best part – the chocolate chips! Add 3/4 cup of mini chocolate chips to the batter. Use a spatula to gently fold them in until they are evenly distributed throughout the mixture. Again, be careful not to overmix. Just a few gentle folds will do the trick. Some of the chips might sink to the bottom during baking, which is normal, but folding them in gently helps to keep them suspended within the batter.
5.
Bake to Golden Perfection:
Pour the batter into your prepared loaf pan, spreading it evenly. Now, take the handful of extra mini chocolate chips you set aside and sprinkle them generously over the top of the batter. This creates a beautiful, irresistible chocolate-studded crust. Place the loaf pan in your preheated oven. Bake for approximately 50-65 minutes. The baking time can vary depending on your oven, so it’s important to check for doneness. You’ll know it’s ready when a wooden skewer or toothpick inserted into the center comes out clean, or with just a few moist crum extractbs attached (but no wet batter). The top should be a beautiful golden brown, and the edges should be pulling away slightly from the sides of the pan. If the top is browning too quickly before the center is cooked, you can loosely tent the loaf pan with aluminum foil.
6.
Cool and Enjoy:
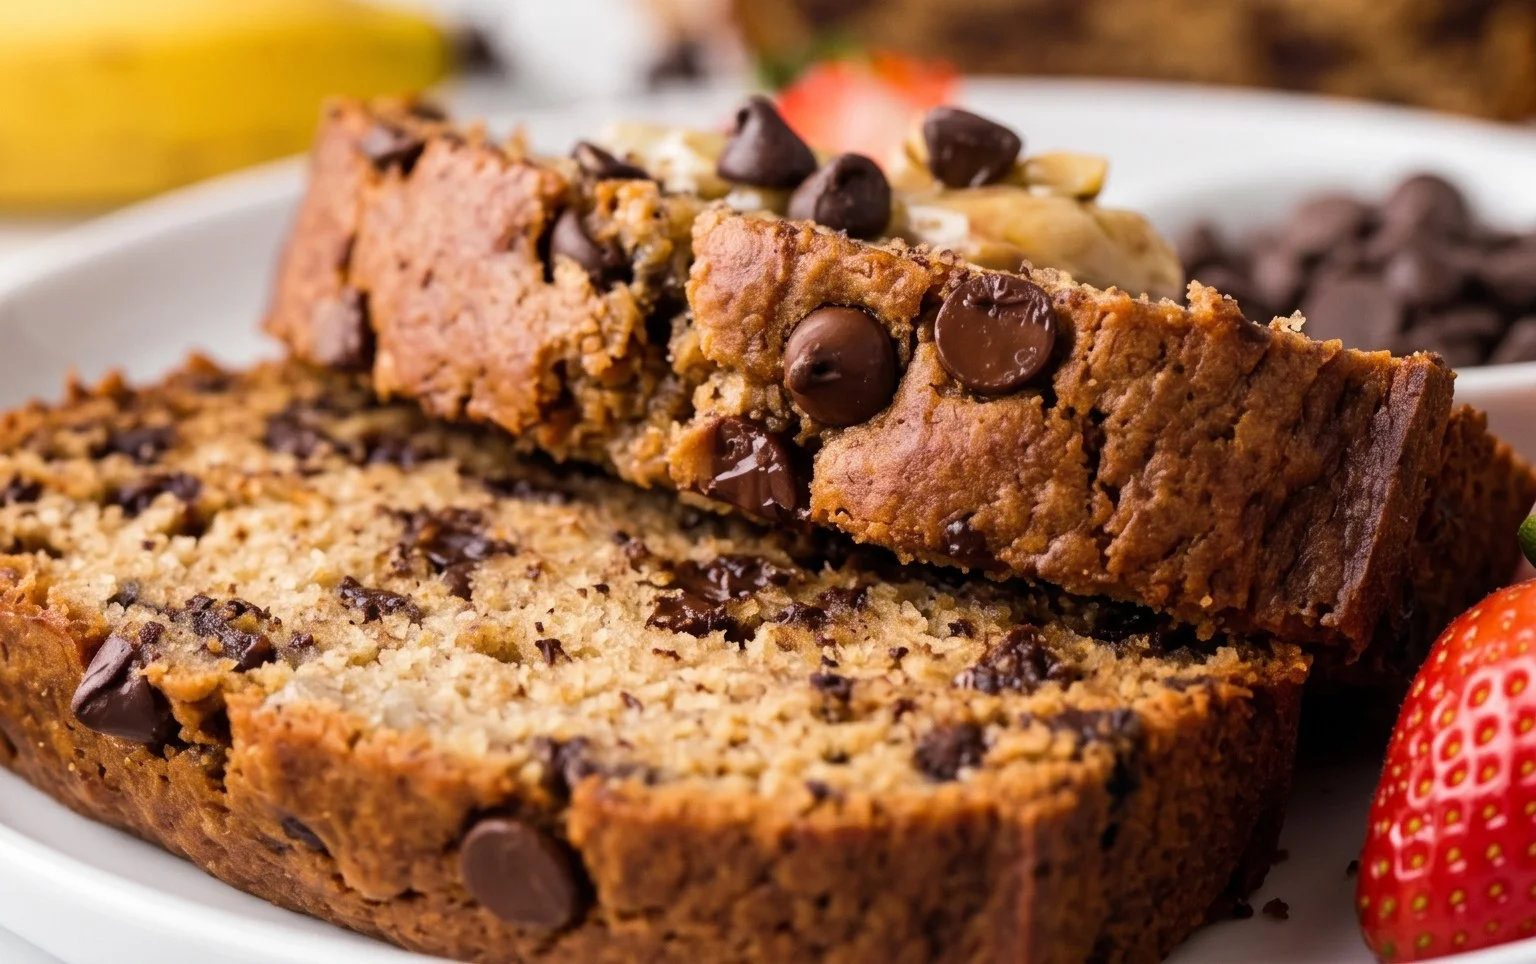
Once baked, remove the loaf pan from the oven and let the banana bread cool in the pan on a wire rack for about 10-15 minutes. This initial cooling period allows the bread to set up a bit, making it easier to handle. After this, use the parchment paper overhangs to carefully lift the loaf out of the pan and place it directly onto the wire rack to cool completely. Resist the urge to slice into it immediately; letting it cool fully allows the flavors to meld and the texture to stabilize. Once completely cooled, slice it with a serrated knife and enjoy! This Chocolate Chip Banana Bread is absolutely delicious on its own, but it’s also fantastic with a smear of butter or cream cheese. Store any leftovers in an airtight container at room temperature for up to 3 days, or refrigerate for longer storage.
Conclusion:
There you have it – a foolproof recipe for the most delightful Chocolate Chip Banana Bread! This recipe truly stands out because it delivers on all fronts: incredibly moist, bursting with sweet banana flavor, and studded with generous pockets of gooey chocolate. It’s the perfect way to use up those overripe bananas sitting on your counter and transform them into something truly special. This versatile loaf is fantastic on its own, warm from the oven, or even better toasted and slathered with a bit of butter. For a richer experience, consider a dollop of whipped cream or a drizzle of extra melted chocolate. If you’re feeling adventurous, don’t hesitate to experiment! Stir in some chopped walnuts or pecans for added crunch, or a pinch of cinnamon or nutmeg for an extra layer of warmth. I truly encourage you to give this Chocolate Chip Banana Bread a try; I promise you won’t be disappointed. It’s a crowd-pleaser that’s surprisingly easy to make and consistently delicious.
Frequently Asked Questions:
Can I make this banana bread vegan?
Absolutely! You can easily make this recipe vegan by using a plant-based milk (like almond or oat milk) and swapping the eggs for a flax egg (1 tablespoon flaxseed meal mixed with 3 tablespoons water, let sit for 5 minutes) or a commercial egg replacer. Ensure your chocolate chips are also dairy-free.
My banana bread is a little dry. What went wrong?
A common culprit for dry banana bread is overmixing the batter once the flour is added. Mix only until just combined. Additionally, ensure your bananas are very ripe; they provide essential moisture. Baking time is also crucial – avoid overbaking! Start checking for doneness a few minutes before the recipe suggests.
How should I store my Chocolate Chip Banana Bread?
Once completely cooled, you can store your banana bread at room temperature in an airtight container for up to 3 days. For longer storage, wrap it tightly in plastic wrap and then aluminum foil, and it will keep well in the refrigerator for about a week, or you can freeze it for up to 3 months.
Chocolate Chip Banana Bread
Moist and delicious banana bread studded with chocolate chips.
Ingredients
-
1 1/2 cups (380g) ripe and mashed banana (3-4 medium bananas)
-
1/2 cup (100g) packed light brown sugar
-
1/2 cup (100g) granulated sugar
-
1/2 cup (112g) unsalted butter, melted
-
2 large eggs
-
1 tsp vanilla extract
-
1/2 cup (120g) 2% Greek yogurt
-
1 1/3 cups (172g) all-purpose flour
-
1 tsp baking soda
-
1/2 tsp salt
-
3/4 cup (140g) mini chocolate chips
Instructions
-
Step 1
Preheat oven to 350°F (175°C). Grease and flour a 9×5 inch loaf pan. -
Step 2
In a large bowl, mash the ripe bananas. Stir in the brown sugar and granulated sugar until well combined. -
Step 3
Add the melted butter, eggs, vanilla extract, and Greek yogurt to the banana mixture. Mix until just combined. -
Step 4
In a separate medium bowl, whisk together the all-purpose flour, baking soda, and salt. -
Step 5
Gradually add the dry ingredients to the wet ingredients, mixing until just combined. Do not overmix. -
Step 6
Gently fold in the mini chocolate chips. Pour the batter into the prepared loaf pan and sprinkle a few extra chocolate chips on top. -
Step 7
Bake for 50-60 minutes, or until a wooden skewer inserted into the center comes out clean. -
Step 8
Let the bread cool in the pan for 10 minutes before transferring it to a wire rack to cool completely.
Important Information
Nutrition Facts (Per Serving)
It is important to consider this information as approximate and not to use it as definitive health advice.
Allergy Information
Please check ingredients for potential allergens and consult a health professional if in doubt.