Red White Blue Dirt Cups-Festive Dessert Fun
Red, White and Blue Dirt Cups are an absolute crowd-pleaser, and for good reason! This playful and delicious dessert is more than just a sweet treat; it’s a nostalgic trip back to childhood, a perfect centerpiece for any festive gathering, and surprisingly simple to whip up. Everyone adores these layered delights. What makes Red, White and Blue Dirt Cups so special is their delightful combination of textures and flavors: the creamy pudding, the crunchy cookie crum extractbs, and the sweet, fruity bursts of berries. They’re visually stunning, mimicking a patriotic landscape in a cup, making them an ideal choice for Fourth of July picnics, Memorial Day barbecues, or any summer celebration where you want to add a splash of patriotic fun. Get ready to dig into this delightful dessert!
Red, White and Blue Dirt Cups
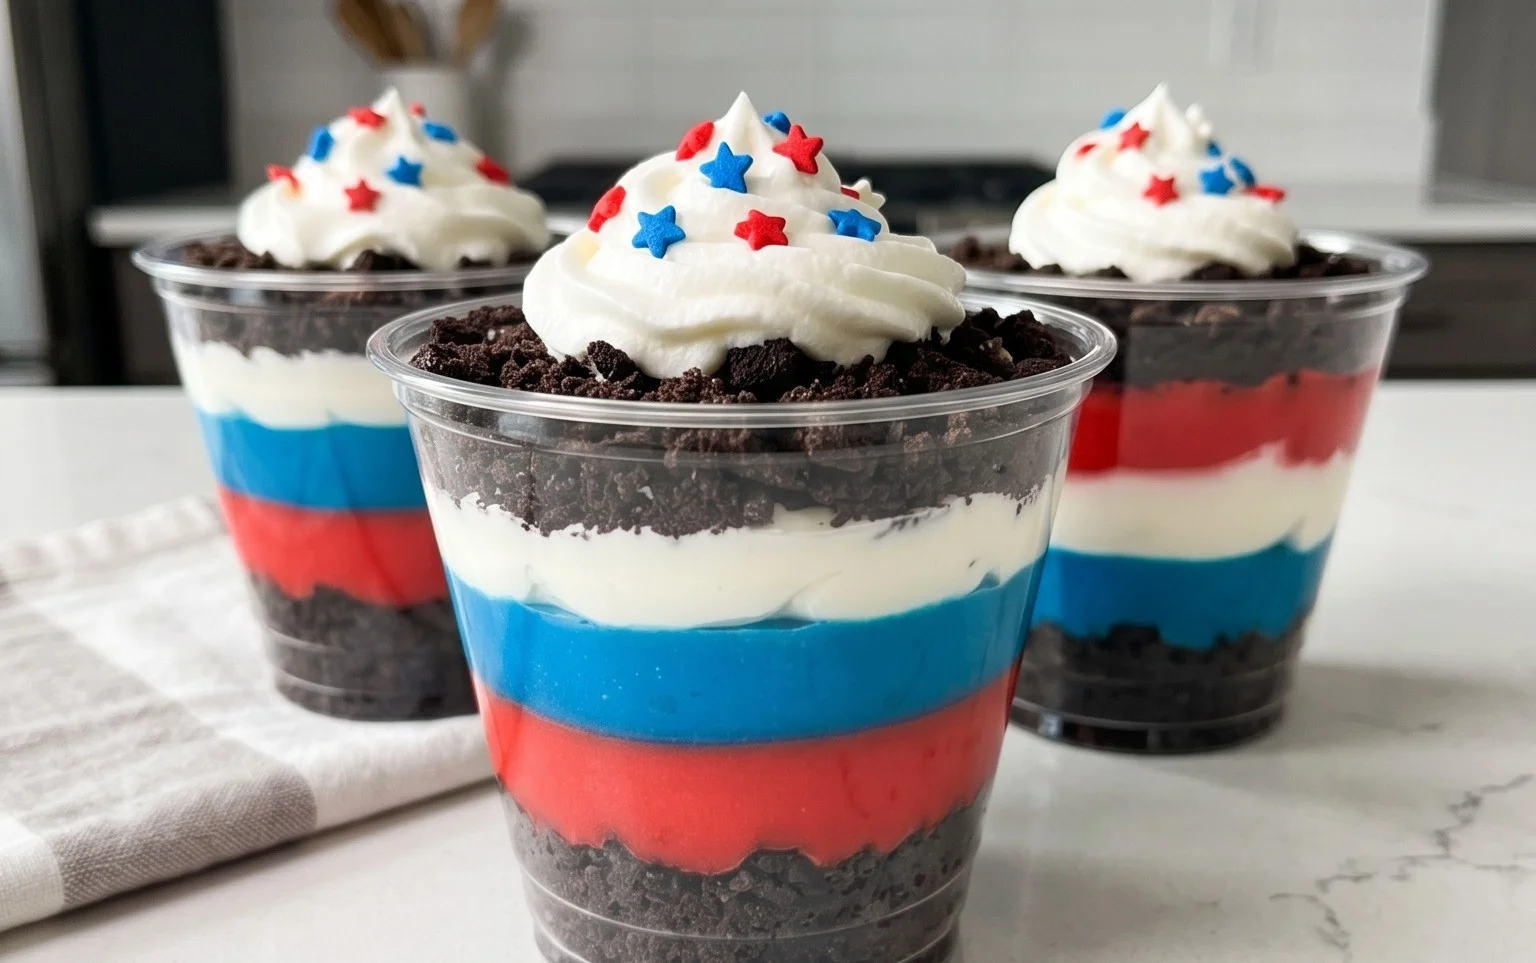
Get ready to celebrate with a dessert that’s as fun to make as it is to eat! These Red, White and Blue Dirt Cups are a patriotic twist on a classic treat, perfect for Fourth of July parties, summer picnics, or any occasion that calls for a burst of festive color. They’re incredibly simple to assemble, making them a fantastic activity for kids and adults alike. The creamy pudding layers, crunchy Oreo “dirt,” and chewy gummy worms create a delightful combination of textures and flavors that everyone will love. Plus, the vibrant red, white, and blue colors make them a showstopper that will have your guests asking for the recipe. Let’s dive in and create these delicious, festive dirt cups!
Ingredients:
Getting Started: Preparing the Pudding Layers
The foundation of our dirt cups is a smooth and creamy pudding. For this recipe, we’re using cheesecake pudding for an extra touch of richness. The first step is to prepare the plain pudding mixture. In a large mixing bowl, combine the contents of both cheesecake pudding boxes with 4 cups of milk. It’s crucial to use cold milk; this helps the pudding set properly and achieve the desired consistency. Whisk the mixture vigorously for about two minutes, or until it begin extracts to thicken. You’ll notice it starts to gain a smooth, velvety texture. Once whisked, cover the bowl tightly with plastic wrap, making sure the wrap touches the surface of the pudding. This prevents a skin from forming on top, ensuring a perfectly smooth pudding for our layers. Refrigerate this mixture for at least 5 minutes to allow it to set slightly before we move on to coloring.
Creating the Festive Colors
Now for the fun part – bringin extractg in the red, white, and blue! We need to divide our cheesecake pudding into three portions to create our distinct layers. Take about one-third of the slightly set pudding and place it into a separate, smaller bowl. This will be our “white” layer. Now, divide the remaining two-thirds of the pudding equally into two more smaller bowls. To one of these bowls, add the ¼ teaspoon of red gel food dye. Gel food coloring is preferred because it’s more concentrated than liquid food coloring, meaning you’ll get a vibrant color without adding extra moisture that could affect the pudding’s texture. Stir the red dye into the pudding until it’s evenly incorporated and you have a beautiful, bright red hue. Rinse your spoon or use a separate one for the next step. To the other bowl containing pudding, add the ¼ teaspoon of blue gel food dye. Stir this thoroughly until you achieve a vibrant blue color. You should now have three bowls of pudding: one white, one red, and one blue.
Assembling the Dirt Cups
With all our components ready, it’s time to assemble these patriotic delights! We’ll start by crushing our Oreo cookies to create the “dirt.” You can do this by placing the Oreo cookies in a resealable plastic bag and crushing them with a rolling pin, or by pulsing them in a food processor until they resemble coarse crum extractbs. Aim for a texture that mimics soil, with some larger pieces and some finer crum extractbs. It’s important not to over-process them into a fine powder, as the texture is part of the charm. Now, grab your serving cups. These can be individual clear cups, small glasses, or even mason jars for a rustic touch. Begin extract by spooning a layer of the plain white pudding into the bottom of each cup. This will be our base layer. Gently spread it out evenly.
Building the Layers of Red, White, and Blue
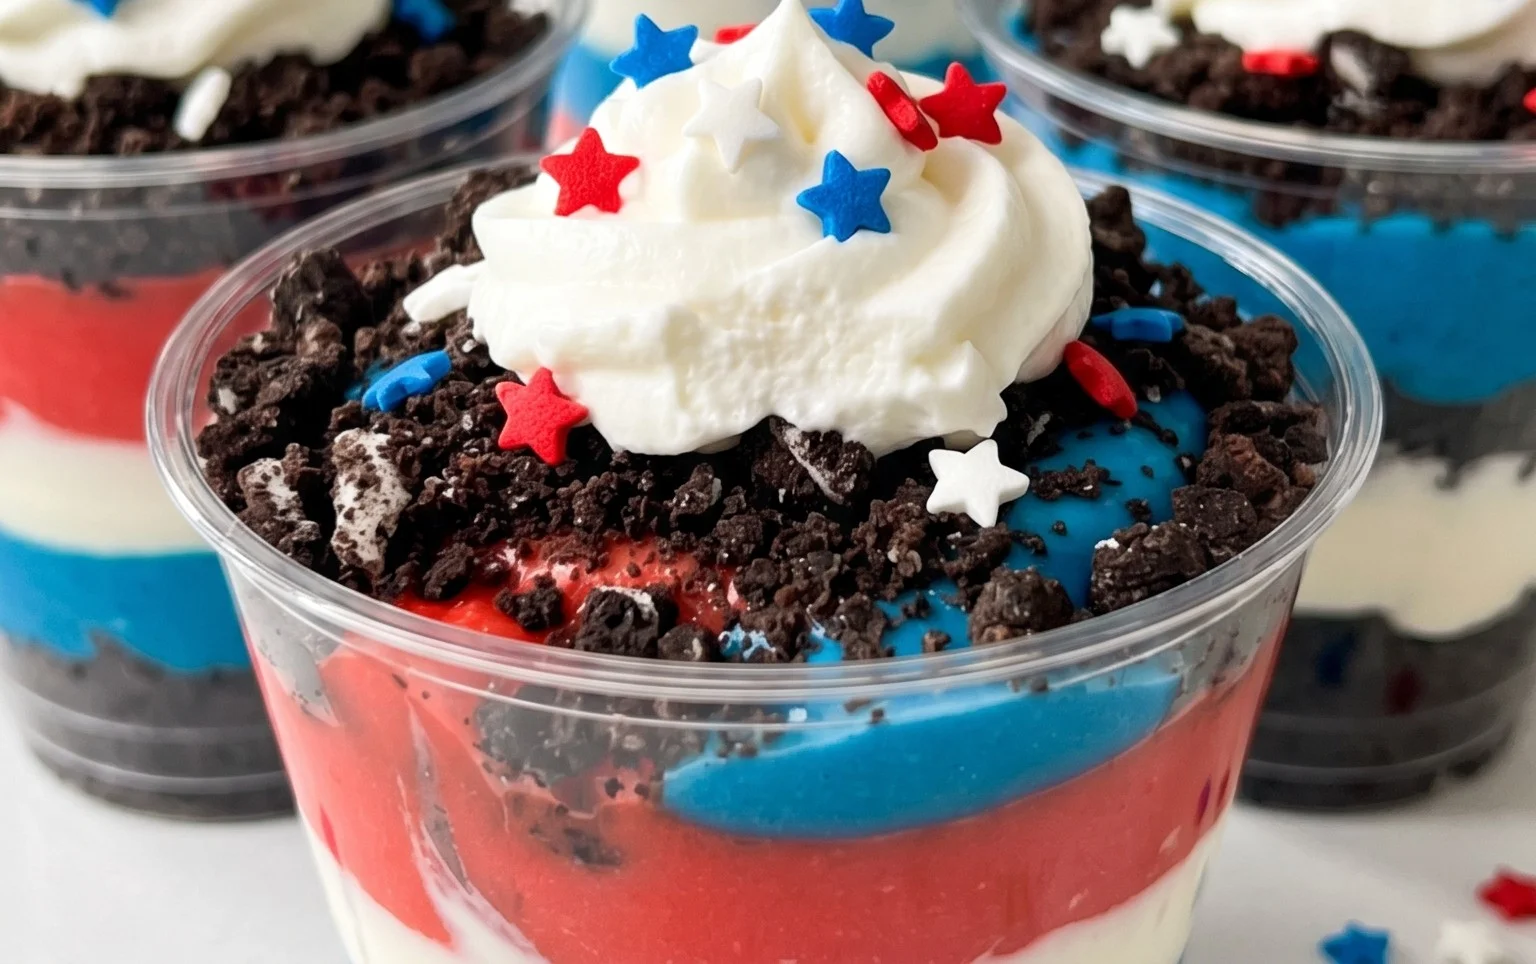
Once you have your white pudding base in each cup, it’s time to add the colorful layers. Carefully spoon a layer of the red pudding over the white pudding in each cup. Again, aim for an even layer, but don’t worry if it’s not perfectly smooth; the “dirt” will cover it. Next, add a layer of the blue pudding on top of the red layer. You should now have a beautiful, colorful stripe of pudding in your cups. It’s okay if the colors slightly meld together; this adds to the visual appeal. The key is to be gentle so you don’t disturb the layers too much. Once you have your colored pudding layers, it’s time to add the “dirt.” Sprinkle a generous amount of the crushed Oreo cookies over the top of the blue pudding layer in each cup. Make sure to cover the pudding completely, creating a convincing dirt effect.
The Finishing Touches: Gummy Worms and Final Chill
To complete our Red, White and Blue Dirt Cups and make them truly festive, we’ll add our gummy worms. Gently push 1 or 2 red and blue gummy worms into the “dirt” on top of each cup. You can have them peeking out from the sides, or have one half buried and the other half sticking straight up, as if they’re crawling out of the dirt. This adds a playful and whimsical element to the dessert. Once all your dirt cups are assembled and decorated, it’s a good idea to let them chill in the refrigerator for at least 30 minutes before serving. This allows the pudding to firm up a bit more and the flavors to meld together. It also ensures the cups are nice and cold, which is perfect for a refreshing dessert. You can prepare these dirt cups a few hours in advance, making them a convenient option for entertaining. Just add the gummy worms shortly before serving to prevent them from becoming too sticky. Enjoy your delicious and patriotic Red, White and Blue Dirt Cups!
Conclusion:
I hope you’ve enjoyed learning how to make these delightful Red, White and Blue Dirt Cups! This recipe is a fantastic way to celebrate holidays like the Fourth of July or Memorial Day, or simply to bring a touch of patriotic fun to any gathering. The combination of creamy chocolate pudding, crushed Oreos, and vibrant fruit creates a visually stunning and incredibly delicious dessert that appeals to all ages. It’s so easy to assemble, making it a perfect activity for kids to help with, and the end result is always met with smiles and second helpings!
These dirt cups are incredibly versatile. For a more festive presentation, consider serving them in individual clear cups or mason jars. They also make a charming addition to a dessert table or picnic spread. Don’t be afraid to get creative with your toppings! Fresh berries add a burst of flavor and color, and a dollop of whipped cream or a gummy worm peeking out from the “dirt” enhances the playful theme.
I truly encourage you to give this Red, White and Blue Dirt Cup recipe a try. It’s a simple yet impactful dessert that’s sure to be a crowd-pleaser. Let me know how yours turn out!
Frequently Asked Questions:
Can I make these ahead of time?
Absolutely! These dirt cups are perfect for making a day in advance. You’ll want to crush your Oreos and prepare your pudding beforehand. Assemble the cups with the pudding and “dirt” layers a few hours before serving to allow the flavors to meld and the cookies to soften slightly. Add any fresh fruit toppings just before serving to keep them looking their best.
What other fruits can I use for the “red” and “blue” layers?
While strawberries and blueberries are classic, you can also use raspberries and blackberries for the red and blue layers. Sliced cherries or pomegranate seeds can also add beautiful red hues. For the blue, think about adding a few edible blue flowers if you can find them for an extra touch of elegance!
Can I use a different type of cookie for the “dirt”?
Yes, you can! While Oreos are traditional and provide a great chocolatey flavor and dark color, you could also use chocolate grabeef ham crackers or even chocolate wafer cookies. Just be sure to crush them finely enough to resemble dirt. For a slightly different flavor profile, you could experiment with chocolate sandwich cookies that have a cream filling you enjoy.
Red, White and Blue Dirt Cups
A festive and easy no-bake dessert perfect for patriotic holidays or any time you want a fun treat.
Ingredients
-
2 boxes cheesecake pudding (3.4 ounces each)
-
4 cups milk
-
19 Oreo cookies (crushed)
-
1/4 teaspoon red gel food dye
-
1/4 teaspoon blue gel food dye
-
8 red and blue gummy worms
Instructions
-
Step 1
Prepare the pudding: In a large bowl, whisk together the cheesecake pudding mix and milk. Beat with an electric mixer on low speed for 2 minutes, or until well combined. -
Step 2
Crush the cookies: Place the Oreo cookies in a resealable plastic bag and crush them into fine crumbs using a rolling pin or the bottom of a heavy glass. Set aside. -
Step 3
Divide and color the pudding: Divide the prepared pudding into three equal portions. Leave one portion white. Add red gel food dye to one portion and stir until evenly colored. Add blue gel food dye to the third portion and stir until evenly colored. -
Step 4
Assemble the cups: In clear cups or small jars, layer the pudding and cookie crumbs. Start with a layer of white pudding, followed by a layer of crushed cookies, then red pudding, another layer of cookie crumbs, and finally the blue pudding. -
Step 5
Add the gummy worms: Stick a red and blue gummy worm into the top of each dirt cup to resemble worms coming out of the dirt. -
Step 6
Chill: Refrigerate the dirt cups for at least 30 minutes before serving to allow the pudding to set.
Important Information
Nutrition Facts (Per Serving)
It is important to consider this information as approximate and not to use it as definitive health advice.
Allergy Information
Please check ingredients for potential allergens and consult a health professional if in doubt.